Homebrew • D&D Beyond Encounter
How to Create an Encounter using D&D Beyond’s My Encounters
Bring your custom magic, martial styles, and class fantasies to life.
How to Create an Encounter on D&D Beyond (Without Losing Your Mind)
One of the quiet truths of Dungeon Mastering is this: great encounters don’t happen by accident. Whether it’s a knock-down drag-out fight, a tense negotiation that could turn violent at any moment, or a puzzle that makes the table go silent for ten glorious seconds, encounters are where preparation meets improvisation.
Great encounters don’t happen by accident. They happen because you built them with intent.
D&D Beyond’s My Encounters tool is one of the most useful prep aids in the modern DM’s toolkit—when you know how to use it well. This guide walks through the process step by step, with a focus on practical use at the table, not just button-clicking.
Callout: Treat this like a walkthrough from one DM to another—less “manual,” more “prep notes with opinions.”
What Is “My Encounters,” Really?
At its core, My Encounters is D&D Beyond’s encounter builder and combat manager. It lets you assemble monsters, track initiative and hit points, and gauge encounter difficulty using the official rules.
More importantly, it helps you offload mental overhead so you can focus on narration, pacing, and player choices.
Why DMs Actually Use It
- Build encounters ahead of time (or on the fly)
- Pull monsters directly from the ruleset
- Get automatic difficulty estimates
- Track initiative, HP, and conditions live
- Reuse and tweak encounters across campaigns
Callout: The tool isn’t here to replace your DM instincts. It’s here to reduce bookkeeping so you can stay in the moment.
Step 1: Getting Set Up on D&D Beyond
Before anything else, you’ll need a D&D Beyond account.
- Head to DNDBeyond.com and create a free account.
- Log in and take a few minutes to explore the dashboard.
- Familiarize yourself with the navigation—especially the Collections and Game Tools menus.
You don’t need a subscription to use My Encounters, though owning content unlocks more monsters and options.
Step 2: Finding the My Encounters Tool
Once logged in:
- Navigate to My Encounters from the main menu.
- Click Create Encounter.
- You’re now looking at a blank canvas—and that’s where the real work begins.
Before you add a single monster, answer one question: “Why does this encounter exist?”
This is the point where many DMs rush ahead. Don’t. Take a breath and answer one question first.
Step 3: Decide What This Encounter Is For
Before adding a single monster, ask yourself:
Why does this encounter exist?
Encounters are more than stat blocks.
Common Encounter Types
- Combat – The obvious one, but even fights should have texture.
- Social – Negotiations, interrogations, tense conversations.
- Puzzle or Exploration – Traps, environmental challenges, riddles.
Even a straight fight benefits from knowing its narrative role. Is this a resource drain? A warning shot? A turning point?
Callout: “Win the fight” is fine. “Win the fight before the hostage falls” is better. Stakes make the scene.
Step 4: Establish the Scene
Encounters live or die on context.
Location Matters
Where is this happening?
- A moonlit forest
- A collapsing ruin
- A crowded tavern with witnesses everywhere
Environment affects tactics, mood, and player decisions.
Tone Sets Expectations
Is this meant to feel:
- Dangerous and oppressive?
- Chaotic and frantic?
- Mysterious and unsettling?
Your encounter should reinforce the tone of the arc—not fight against it.
Step 5: Choosing the Right Monsters
Now you’re ready to populate the encounter.
Using the Monster Database
Inside My Encounters:
- Search by monster name or type.
- Review stat blocks carefully—especially abilities.
- Add creatures that fit both the theme and the party’s capabilities.
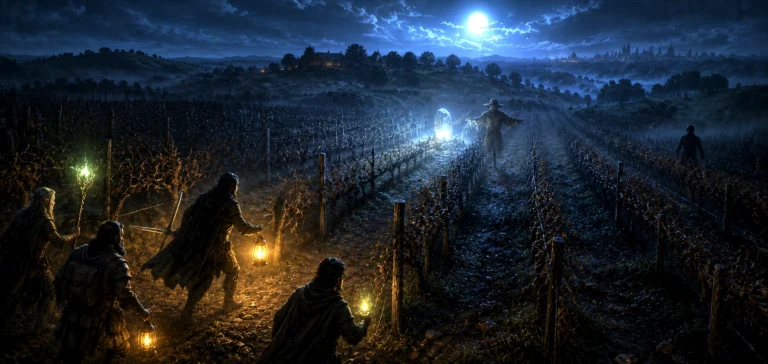
Example: A Haunted Forest
For an eerie woodland encounter, you might choose:
- Zombies to apply pressure
- A Ghost to introduce unpredictability
- A Will-o’-Wisp to manipulate positioning and fear
This creates varied threats instead of a single damage sponge.
Variety is often more dangerous than raw numbers.
Mixed abilities force players to think—and that’s where tension lives.
Step 6: Balancing Difficulty (Without Obsessing)
D&D Beyond will calculate encounter difficulty for you—and that’s helpful.
But treat it as guidance, not gospel.
Consider:
- Party size and optimization
- Available resources (spell slots, HP, rests)
- Player experience and creativity
A “Deadly” encounter can be thrilling—or trivial—depending on context.
Callout: Difficulty math can’t see your table’s habits. If your players are tactical monsters (or chaos gremlins), adjust accordingly.
Step 7: Customize What the Tool Can’t See
This is where encounters become memorable.
Add Stakes Beyond “Kill Everything”
- Destroy an object
- Protect an NPC
- Survive long enough for something to happen
Layer in Environmental Effects
- Difficult terrain
- Limited visibility
- Magical interference
Example Enhancement
In the haunted forest:
- Thick underbrush slows movement
- A cursed totem empowers undead
- The ghost can possess characters under the right conditions
None of that shows up in CR—but all of it matters.
Step 8: Running Combat at the Table
During play, My Encounters shines.
Initiative and Turn Order
- Enter initiative rolls
- Advance rounds cleanly
- No more scribbled paper trackers
HP and Conditions
- Track damage in real time
- Apply conditions visibly
- Reduce mental bookkeeping
The less time you spend managing numbers, the more time you spend describing blood, fear, and desperation.
Step 9: Closing the Encounter
When the dust settles, don’t rush past the aftermath.
Wrap It Up
- Describe the resolution
- Show consequences
- Let players breathe
Rewards Aren’t Just Gold
- Story advancement
- Information
- Changed relationships
- Lingering effects
In our haunted forest, destroying the totem might quiet the woods—but leave questions behind.
Step 10: Save, Reuse, Refine
Finally:
- Save the encounter with a clear name.
- Organize it by theme or level.
- Revisit it later and adjust.
Good encounters evolve. Great ones get reused with new context.
Final Thoughts
D&D Beyond’s My Encounters tool isn’t about replacing DM creativity—it’s about supporting it. When used well, it frees you from bookkeeping and lets you focus on storytelling, pacing, and player agency.
Build encounters with intention. Customize them with purpose. Run them with confidence.
The tools are there. The magic is still yours.
Happy DMing—and I’ll see you at the table.