
Homebrew • DM Tips • Character Building
Creating a Character: Wizard
The Battlefield Architect Who Wins Fights Before They Start
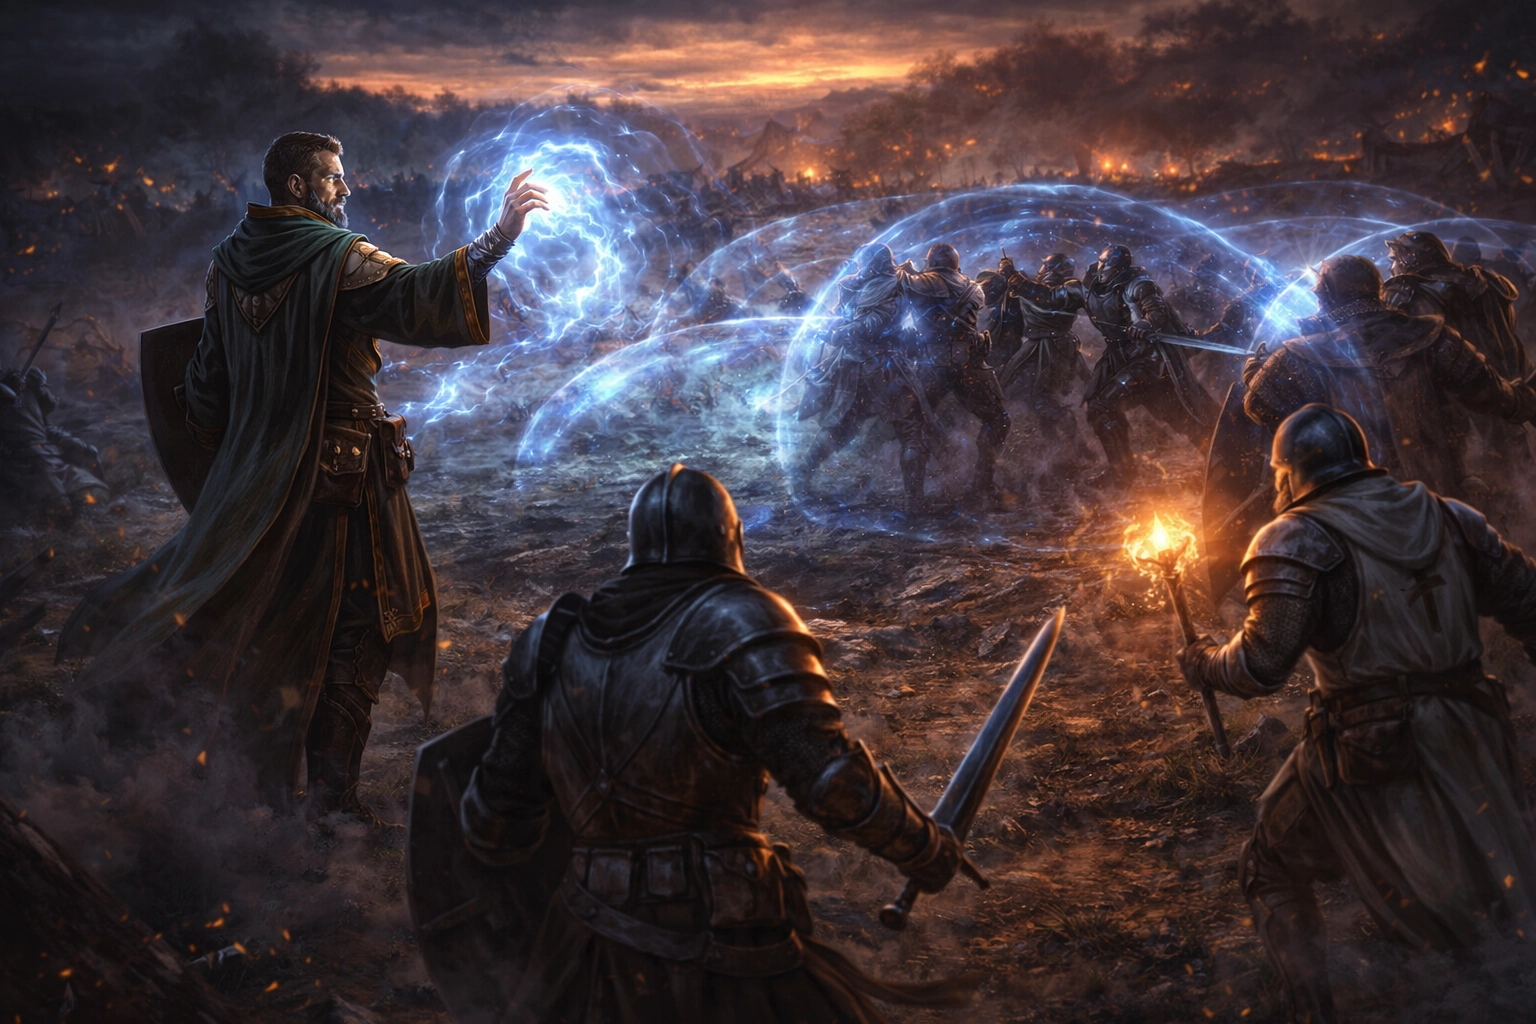
There’s a version of the Wizard that breaks your game. You’ve seen it. Maybe you’ve even played it. Maybe you’ve DMed for it: The Wizard who solves every problem, deletes every encounter, and quietly turns the rest of the party into spectators.
That’s not this Wizard.
This is the one that lasts 20 sessions; the one the party trusts; the one that makes everyone at the table feel stronger, not smaller. This is the Wizard who doesn’t win by doing the most damage; they win by making sure the enemy never gets to play the game properly in the first place.
Building Better Characters
Great characters aren’t built in a single step; they’re shaped over time.
This three-part series explores how to create a character that not only works on paper, but thrives across an entire campaign:
Part 1: Smart Mechanical Choices That Scale
Part 2: Meaningful Character Identity That Drives Play
Part 3: Table Integration and Long-Term Character Success
Start where you are, or follow the full journey.
The Philosophy: Control Over Chaos
In the 2024 ruleset, Wizards are still the most flexible class in the game, but flexibility is a trap if you don’t give it structure. The campaign-stable Wizard makes a simple trade: Less spotlight. More control. Better outcomes.
Instead of chasing nova turns or maximum damage spikes, this build focuses on action economy manipulation, turning enemy turns into wasted movement, failed positioning, or outright inaction.
That’s how you scale cleanly from Level 1 through Tier 2 without warping your table.
“Less spotlight. More control. Better outcomes.”
The Build: Battlefield Control Specialist
This Wizard isn’t here to top the damage chart. They’re here to decide:
- where enemies stand
- who gets to act
- how dangerous the fight actually becomes
At low levels, that means restraint and positioning, at mid-levels, that means locking down entire encounters, and at all levels, it means your party takes fewer hits, and wins more consistently.
Core Loop: How This Wizard Plays at the Table
At the Table: Your First 3 Turns
Turn 1: Lock down the battlefield with a concentration control spell
Turn 2: Maintain control + apply safe pressure (cantrip or utility)
Turn 3+: Reposition, protect concentration, and let the party capitalize
If you’re reacting instead of dictating, you’re already behind.
Let’s strip it down to what actually happens in play.
Turn One: Shape the Fight
You open with a concentration control spell that alters the battlefield. Not damage. Not flash. Control. You are asking one question: How do I make the enemy’s next turn worse?
That might look like:
- locking enemies in place
- slowing their advance
- splitting a group
- denying line of sight
- forcing bad movement
If your Turn 1 spell changes how the fight unfolds, you’re doing it right.
“You’re not here to win the fight—you’re here to decide how the fight is allowed to happen.”
Turn Two and Beyond: Maintain Advantage
Once control is established:
- Maintain concentration
- Use cantrips for steady pressure
- Reposition to stay safe
- Use reactions defensively
You’re no longer trying to “win” the fight; you already did that. Now you’re making sure it stays won.
When Things Go Wrong
“Great Wizards don’t recover control. They re-establish it.”
Because they will. When concentration drops:
- Don’t panic-cast damage
- Re-evaluate positioning
- Reapply control if needed
- Or pivot to defensive play
The difference between a good Wizard and a great one is simple: Great Wizards don’t chase recovery. They re-establish control.
“If your spells don’t make the enemy’s turn worse, you’re doing extra work for less impact.”
Ability Scores: Built for Survival, Not Ego
“Survival isn’t a fallback plan. It’s part of your build.”
Too many Wizards are built like glass cannons. This one isn’t.
Point Buy Foundation
| STR | CON | DEX | WIS | INT | CHA |
|---|---|---|---|---|---|
| 8 | 14 | 14 | 15 | 12 | 8 |
Apply background bonuses:
- +2 INT to 17
- +1 CON to 15
Why This Works
- INT 17 ensures your spells matter
- CON 15 keeps them active
- DEX 14 keeps you alive long enough to matter
This is not a Wizard who hopes not to get hit. This is a Wizard who expects to, and plans accordingly.
Standard Array Alternative
| STR | CON | DEX | WIS | INT | CHA |
|---|---|---|---|---|---|
| 8 | 14 | 13 | 12 | 15 | 10 |
Apply:
- +2 INT to 17
- +1 CON to 15
If your table hits hard early, consider prioritizing CON over DEX. Survival first. Optimization second.
Background: Where Identity Meets Mechanics
The 2024 background system matters more than ever. This isn’t just flavor, it’s structure.
Best Fits for This Build
Sage: The classic, and still effective. Knowledge skills reinforce your role as planner and analyst.
Scholar: A slightly broader version of Sage with stronger investigative identity. Excellent for campaign longevity.
Guard (Reflavored as Arcane Tactician): Underrated. This leans into the “battlefield architect” identity and supports initiative-driven play.
Feat Synergy (If Granted by Background)
Choose stability, not spikes.
- Alert: Go first, control early
- Resilient (Constitution): Keep control active
- Magic Initiate: Only if it fills a real gap
If your feat choice doesn’t help you maintain or establish control, question it.
Subclass: School of Abjuration
Protect the Spell, Protect the Plan
To keep your control active:
- Stay behind your front line
- Avoid unnecessary repositioning
- Use cover whenever possible
- Respect enemy ranged threats
Losing concentration isn’t bad luck. It’s usually positioning.
This is where the build quietly becomes exceptional. Not flashy. Not explosive. Reliable.
Why Abjuration Works
The defining feature, your Arcane Ward or its 2024 equivalent, does one critical thing: It protects your concentration. And concentration is everything.
Without it:
- Your control drops
- Your impact vanishes
- Your role collapses
With it:
- You stay online longer
- You stabilize bad rounds
- You reduce incoming variance
This subclass doesn’t change your playstyle. It reinforces it. That’s exactly what we want in a campaign-stable build.
Spell Strategy: Think in Layers, Not Lists
“You don’t need more spells. You need the right roles.”
The biggest mistake Wizards make is over-preparing for options instead of preparing for roles. You don’t need ten good spells; you need the right four.
Your Spell Loadout Should Look Like This
1 Primary Control Spell: Your go-to opener. Defines the fight.
1 Secondary Control Option: When the first doesn’t apply or fails.
1 Non-Concentration Utility or Damage Spell: Something to do while control is active.
1 Emergency Button: Defense, repositioning, or escape.
Why This Matters
Because of one simple truth: You can only concentrate on one spell at a time.
“You can only concentrate on one spell. Build like it matters.”
Everything else is support. Build accordingly.
Common Wizard Mistake: Over-Preparing
Most Wizards prepare too many “good” spells and not enough purposeful ones.
Before each session, ask:
- What’s my primary control spell today?
- What’s my backup if that fails?
- What do I cast after control is active?
If you can’t answer those three questions, your spell list is unfocused.
Tier 1 Play (Levels 1–4): Fragile but Formative
This is where most Wizards fail. Not because they’re weak,but because they’re played like blasters instead of controllers.
What You Should Be Doing
- Controlling small groups
- Disrupting melee enemies
- Protecting your front line
- Staying out of danger
What You Should NOT Be Doing
- Burning slots for damage
- Standing still in bad positions
- Overcommitting to early fights
Do Less, Win More
You don’t need to cast every turn. Sometimes the best play is:
- Maintain concentration
- Use a cantrip
- Let your martials finish the job
Every unnecessary spell slot spent is future control you don’t have.
In Tier 1, your value isn’t dominance. It’s impact per spell slot.
Tier 2 Play (Levels 5–10): The Build Comes Online
“Control isn’t about stopping enemies. It’s about wasting their turns.”
This is where the Battlefield Control Wizard becomes undeniable. Your spells start affecting:
- multiple enemies
- entire encounter zones
- enemy decision-making itself
What Changes
- You control space, not just targets
- You dictate tempo, not just outcomes
- You reduce incoming damage across the party
This is also where restraint matters most. Because now you could dominate every encounter. But you shouldn’t.
Action Economy: Where Wizards Quietly Break Games
Sanity Check: Are You Helping the Table?
After a big turn, ask:
- Did this create openings for my allies?
- Did it reduce incoming damage?
- Did it make the fight easier to manage?
If the answer is no: You may be playing a strong Wizard… but not a campaign-stable one.
Let’s talk about the real danger. It’s not damage, it’s not spell lists. It’s Action economy misuse.
Trap #1: Concentration Overload
You prepare too many concentration spells, so you constantly second-guess your choices. and you drop good control for “better” control. The result: You waste turns and lose impact.
Fix:
Commit to your first decision unless the battlefield truly changes.
Trap #2: Bonus Action Temptation
Spells like Misty Step are powerful but tempting. Too tempting. If you’re constantly repositioning:
- You’re reacting, not controlling
- You’re spending resources defensively
- You’re giving up pressure
The Fix: Position well early. Use bonus actions sparingly.
Trap #3: The Nova Spiral
You see an opportunity; you stack damage. You go big, and suddenly:
- the fight ends too fast
- the party fades into the background
- future encounters feel weaker
The Fix: Ask yourself: Does this help the party win, or just me?
Trap #4: Solving Everything Alone
The Wizard can. That doesn’t mean the Wizard should.
If you:
- bypass every obstacle
- solve every puzzle
- dominate every encounter
You’re not scaling the campaign. You’re shrinking it.
Table Impact: What This Wizard Feels Like
At the table, this Wizard becomes something subtle, but powerful. The Fighter lands more hits.
The Rogue finds safer openings, the Cleric heals less, because less damage is taken; the DM’s encounters feel tense, but fair.
And the Wizard?
They look like they’re doing less, but they’re doing more than anyone else.
Why This Build Lasts
Because it doesn’t rely on:
- burst damage
- fragile combos
- perfect conditions
It relies on:
- positioning
- timing
- decision-making
Those don’t scale out of relevance. They scale into mastery.
Behind the Screen: Why DMs Love This Wizard
This build:
- Preserves encounter tension
- Reduces swingy outcomes
- Keeps all players engaged
- Supports teamwork instead of replacing it
This is the Wizard DMs don’t have to balance around.
Final Thought: The Wizard Who Makes the Table Better
“The best Wizard doesn’t shine the brightest—they make everyone else shine more often.”
There are Wizards who win encounters, and there are Wizards who win campaigns. The difference isn’t power, it’s perspective. The best Wizard at the table isn’t the one who shines the brightest. It’s the one who makes everyone else shine more often. Play that Wizard, and your campaign will thank you for it.
Find Your Role at the Table
Every class in D&D answers a different question:
- Who holds the line? → Fighter
- Who rewrites the rules? → Wizard
- Who applies pressure? → Barbarian
- Who keeps the party standing? → Cleric
- Who hunts and controls the edges of the fight? → Ranger
- Who strikes at the perfect moment? → Rogue
- Who leads from the front with purpose and presence? → Paladin
- Who adapts with nature and flexibility? → Druid
- Who trades risk for power? → Warlock
- Who channels raw magic into explosive potential? → Sorcerer
- Who controls the flow of combat through movement and discipline? → Monk
- Who elevates the entire party? → Bard
This series is built to help you choose more than a class.
It helps you choose how you show up at the table.